Creative Extensions
Abstract
The students of Creative Extensions wish to design a product to improve quality of life for a special needs population. Our target group is children, ages 7 to 15, which are diagnosed with dwarfism.
Achondroplasia is the most common type of dwarfism and hinders the growth of long bones at peak developmental stages and causes afflicted to have shorter extremities. More uncommon forms of dwarfism affect grip strength, flexibility and mobility in the wrist, hands and elbows. Our goal this semester is to develop an assistive tool that can be used across the spectrum of those afflicted with dwarfism.
Team members

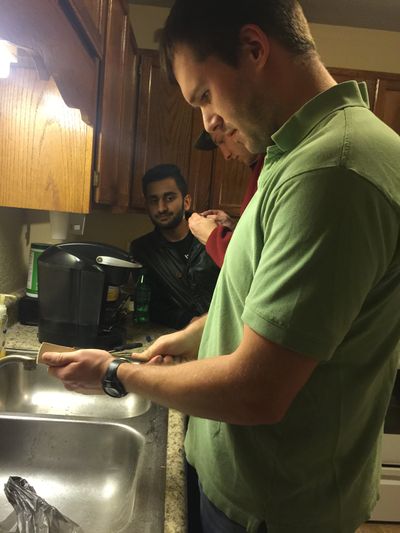
Design Team (from Left to Right):
- Nicholas Graves
- Robert Campbell
- Harris Barwick
- Abdulla Ahmed
- Fahad Alessa
Problem Statement/overview of the need
To develop a device that will improve that quality of life for a child with impeded reach, mobility and grip strength. This device will take the shape of a passive prosthetic arm. The device should be easy to wear and get off so the child can easily wear it. The device is made for children with dwarfism or children with limited mobility.
Design Specifications
Creative Extensions wishes to introduce a design that will improve Strength, Dexterity, Mobility and Reach. The goal is to have a product that is lightweight, simple to use and easy to put on/take off. The design will allow an operator to have greater precision with movement, a greater force output and an increased reach.
1. Must improve Reach
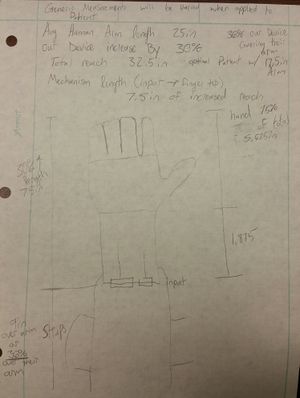
We wish to extend the reach to that of an individual with normal arm length. An average adult male has a arm length of 2.5 ft, we would like that devise of the prostatic plus the length of the subjects arm to be 2.5 ft. Assuming our subject will have an arm length of 1ft, we will design the device to be 1.5 ft long. (Design spec’s may change at a later date and Problem Statement will be updated to reflect new direction).
2. Increase Grip Strength
We would like to design a produce that will increase the grip strength of the user. By using pulleys, springs and gears, we think that we should be able to increase the output of the device. After more research, we will give a more detailed explanation on this part of the design.
3. Easy On/Off
Someone will be more inclined to use the product as long as the produce is easy to use. We’ll start with making the design easy to put on and take off; we’re thinking Velcro.
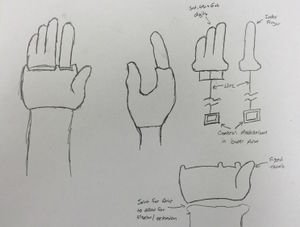
4. A Thumb
After putting some serious thought into the design, the team has decided that a thumb that can be controlled will greatly increase dexterity.
5. Lightweight
Last but definitely not least, the device MUST be light enough to use AND to be carried around by the owner. If the device is too heavy and cumbersome, we have failed. Ideally, the prostetic will be used to reach something up high; if the device is too heavy and the operator cannot support the weight with their shoulder, they will not use it.
6. Printable
Our goal for the project is to develop a hand that can printed by a 3D Printer and constructed at home.
Background research
e-NABLE is a nonprofit organization committed to bringing prosthetic hands and arms to people all over the world. An organization of more than 6500 volunteers comprised of engineers and medical professionals, the group is determined to bring affordable prosthetic devices to those whom would normally do without. The website allows visitors to download CAD files of the latest versions of the prosthetic devices and print them without having to pay a hefty fee.
http://enablingthefuture.org/upper-limb-prosthetics/
After the device is printed the user then has to purchase hardware needed to assemble the device, which can still be kind of pricy. This is where innovator Jeremy Simon comes in. Simon created a kit that contains all the hardware needed to assemble one of these devices, 3D printing parts not included.
Conceptual Design
Summarize your conceptual design process. Develop at least three concepts.
Design Concept 1
The Clamp
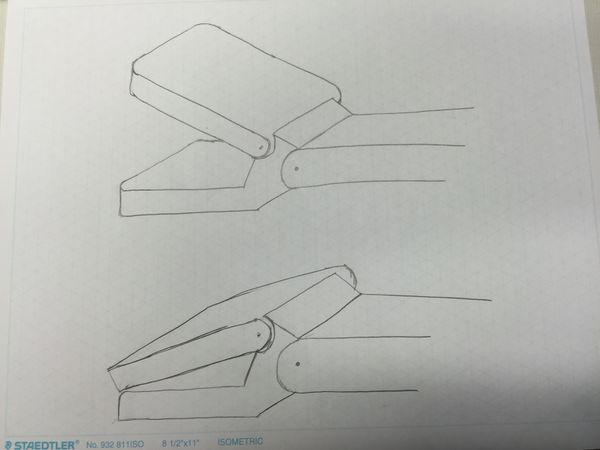
The Clamp is a relatively simple designed with the sole purpose of increasing the reach and strength of an operator. The design permits easy use but limited application.
Design Concept 2
The Hand
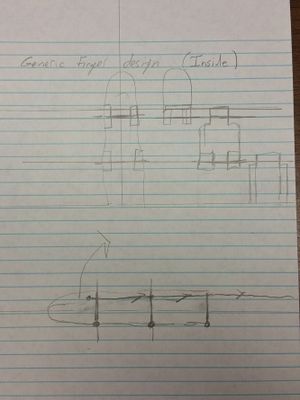

The Hand is a more complex design with the idea of modeling a human hand. The concept allows for independent movement of the index finger and uniform movement of the third, fourth and fifth digits with having the thumb be fixed and immobile. This design will greatly improve dexterity and slightly increase strength; however, the device with be more difficult to use.
Self-appointed specifications for Passive reaching exoskeleton.
- Normal reach will be obtain through use of this device.
- Gives user increased strength of 15% or equal to their own strength
- Main goal is to grab items out of reach (height restricted or laterally restricted)
- Skeleton will be 3-D printed in such a way as to give easy access to internal parts
- Inner palm will be attached with screws. Will be removable to insert driving mechanism
- Drive will be salable with different mechanism designs (1:1 drive ect.) to give various output grip strength
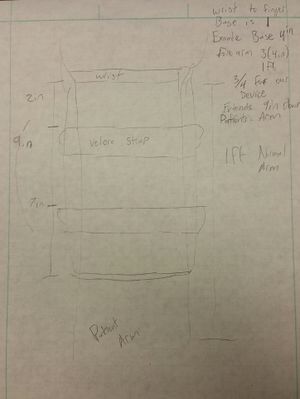
- Four arm / wrist area will have a slot to adjust the tightness of wiring from input to output.
- For our project purposes arm will be scaled larger so it can be properly tested be for re-sizing for a specific child in need.
- Input area will be suited for most sizes to accommodate various patients without the need to redesign. (i.e. Velcro adjuster to fit snugly)\
- Internal parts will be implemented post springing of the exoskeleton
Evaluate concepts/select candidate
Use a decision matrix or similar tool to compare designs against project specifications Discuss winning candidate
Detailed Design
This section will describe a detailed design process
Description of selected design
Detailed description of selected design
Analysis
Describe three types of analysis to be performed on the design
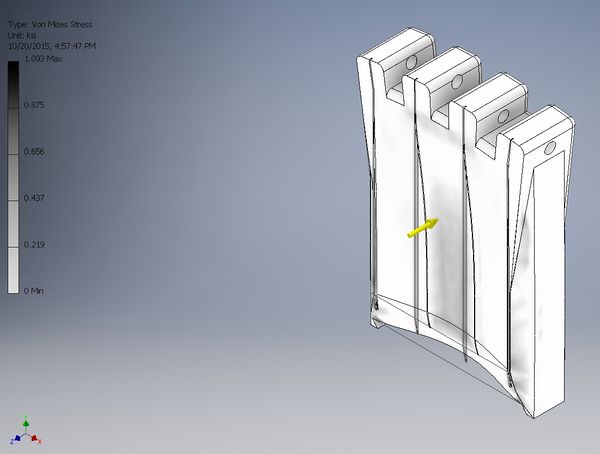
Engineering analysis 1
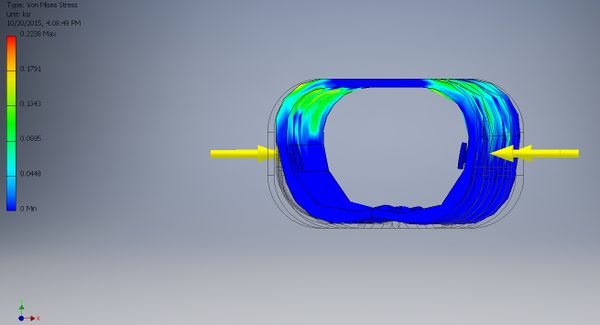
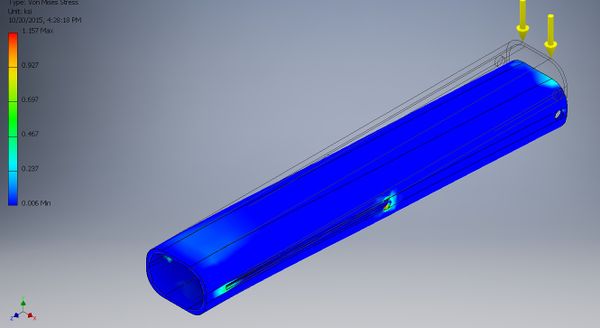
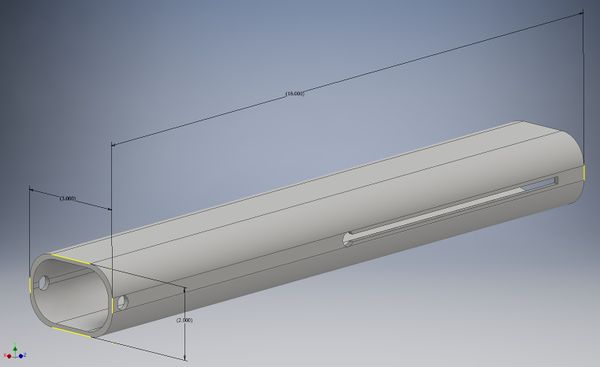
Arm attachment FEA stess analysis. Using 10 lbf point forces.
Engineering analysis 2
Middle extension FEA analysis. Fixing one end and applying 10 lbf point force. Showing Stresses
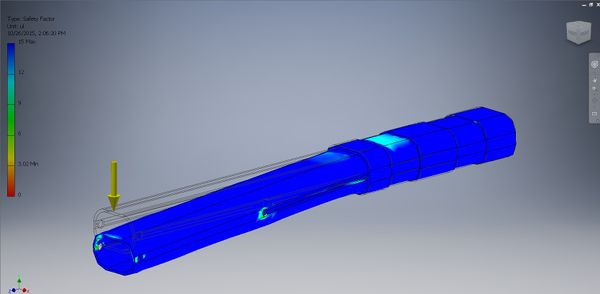
Fixing Arm attachment representing being tightened with Velcro to users forearm. applying 10lbf point force to end. Showing Safety factor
Engineering analysis 3
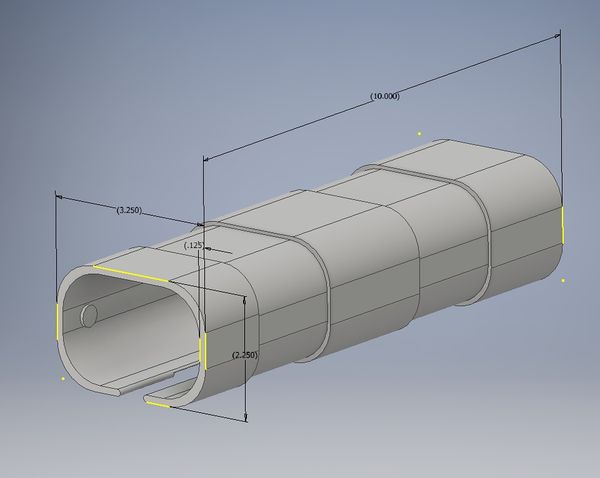
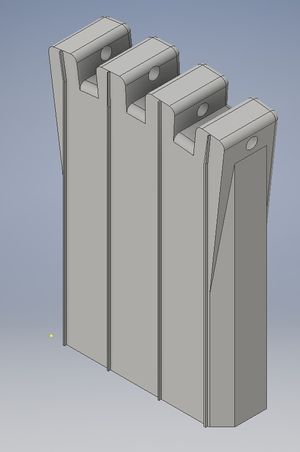
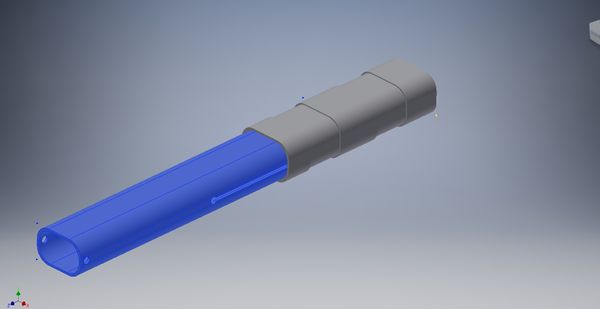
CAD Drawings
Insert drawings of all parts and the assembly
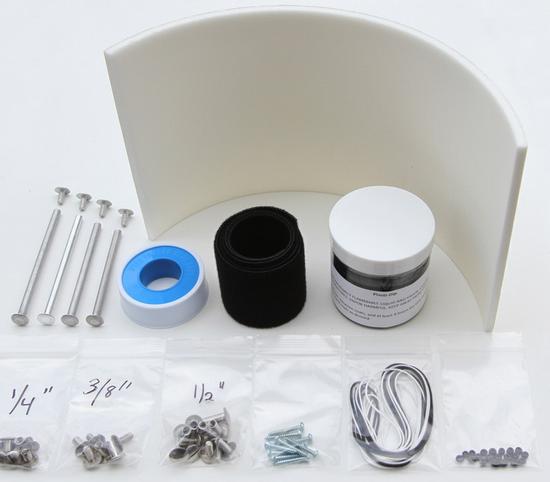
Bill of Materials
| Part Name | Specifications | Quantity | |
|---|---|---|---|
| Velcro, double-sided | (4 feet) (2” wide) | 1 | |
| Non-flexible braided fishing line | (8 feet) | 1 | |
| Flexible elastic cord | (1mm diameter, for smaller hands) | 1 | |
| Aluminum Chicago Screw | 2½” | 1 | |
| Aluminum Chicago Screw | 2¾” | 1 | |
| Aluminum Chicago Screw | 3” | 1 | |
| Aluminum Chicago Screw | 3¼” | 1 | |
| Aluminum Chicago Screw | 3½” | 1 | |
| Aluminum Chicago Screw | 3¾” | 1 | |
| Stainless Steel Chicago Screws | ¼” | 4 | |
| Stainless Steel Chicago Screws | ⅜” | 3 | |
| Stainless Steel Chicago Screws | ½” | 6 | |
| Tensioner screws | extra small | 6 | |
| Tensioner screws | small | 6 | |
| Tensioner screws | medium | 6 | |
| Tensioner screws | large | 6 | |
| Spray Paint | |||
| Epoxy Instant Mix | 1 | 1 |
Assembly Instructions
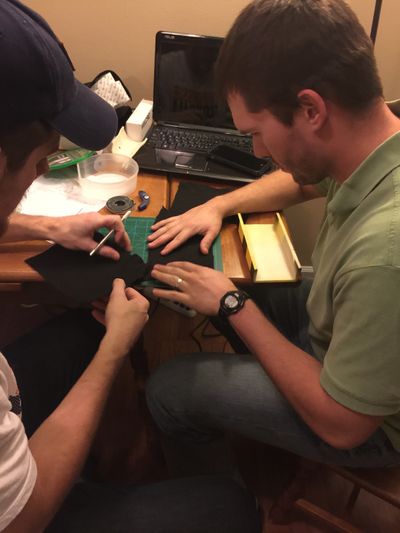
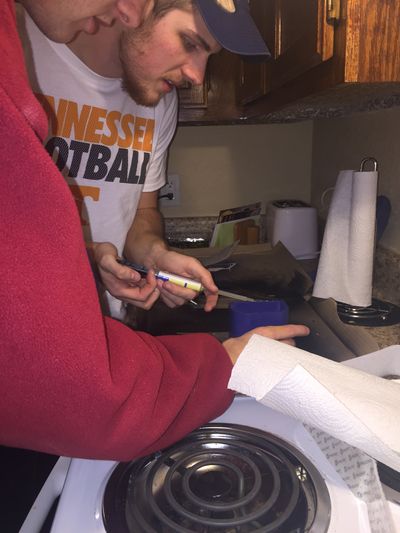
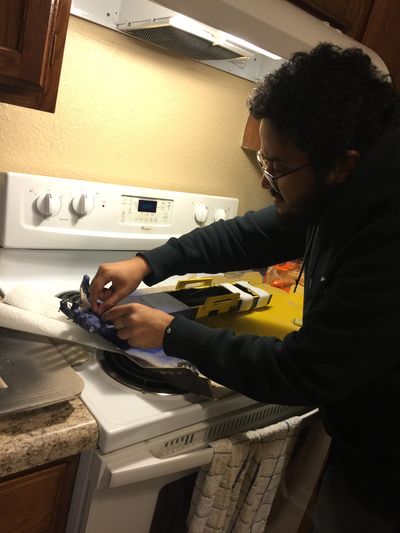
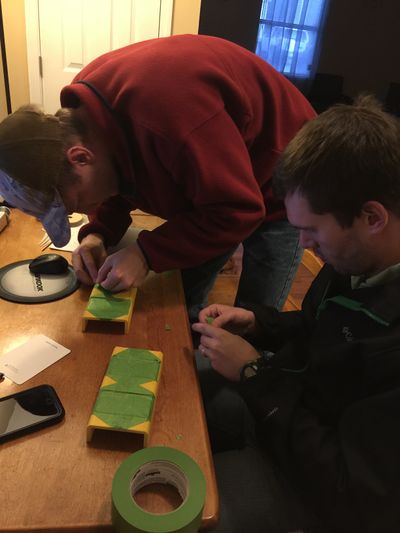
Fabrication Process
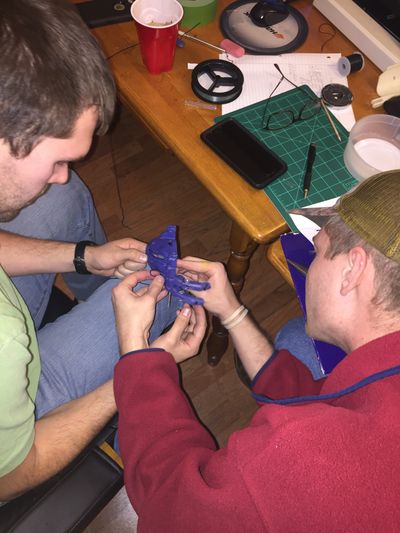

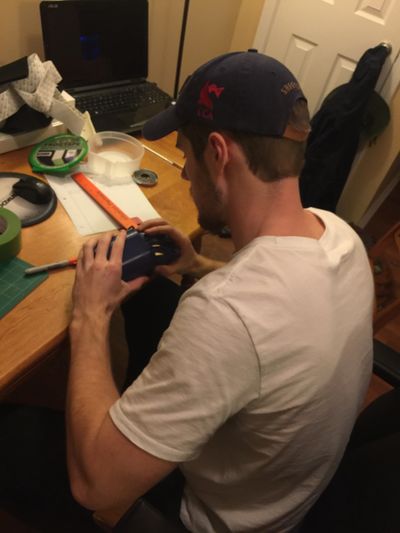
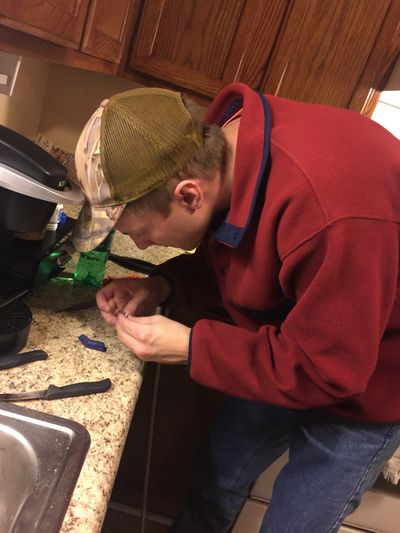
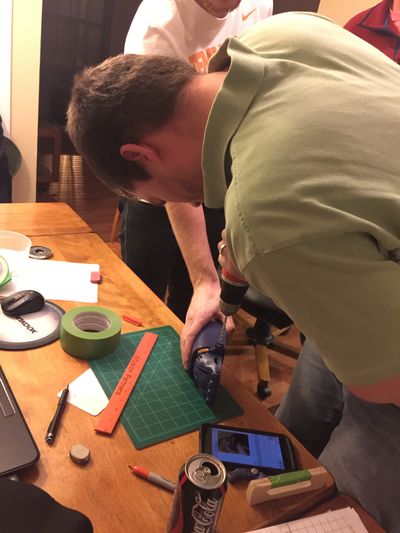
Testing and implementation
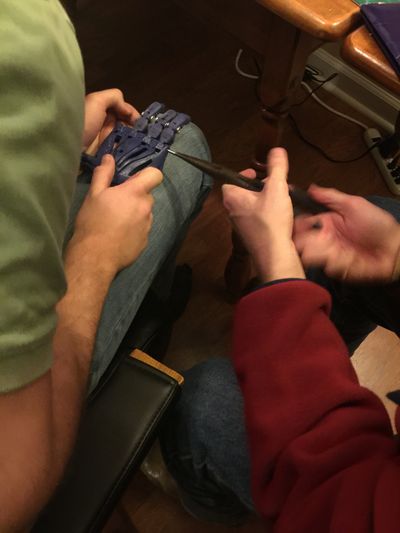
We tested the hand many times, it is ready to use.
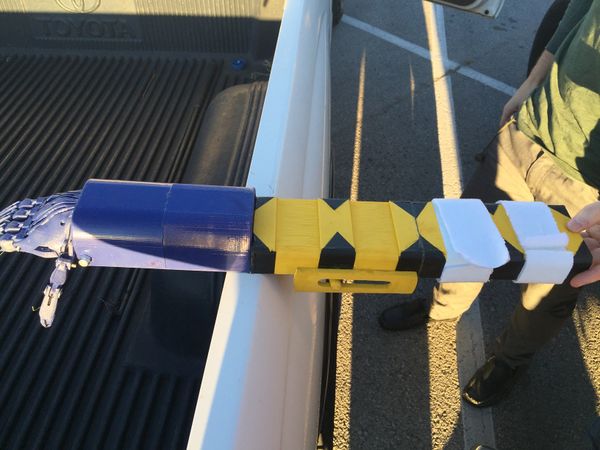
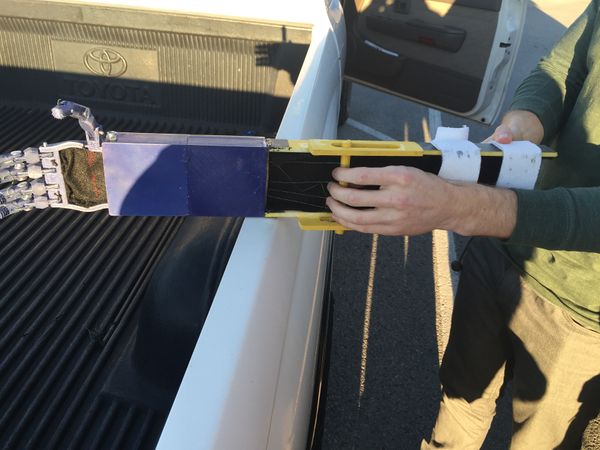
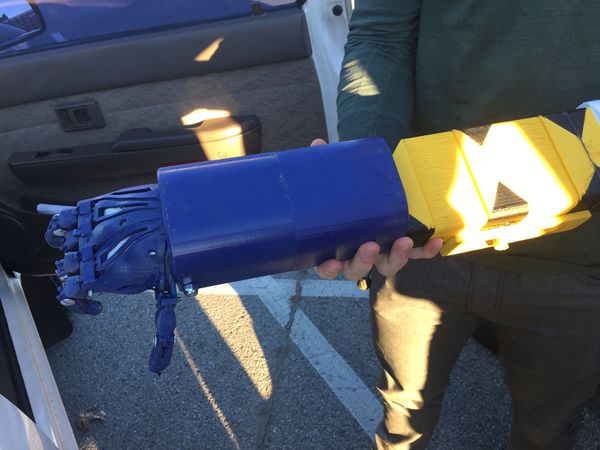
Photos of Completed design
Instructions for safe use
Provide a clear summary of safe use for the family. Do not use the device unless supervised by an adult that has been fully understood the safe use of this product.