Modified Walker 2020
Abstract
Our client is a twenty-month-old child. She has issues walking due to physical underdevelopment, and she is also mentally underdeveloped. The family requested for us to assist her in developing her walking skills. She is currently walking with a walker, but the walker is too big and does not support her properly.
Team members

From left to right: Jared Oliver, Ezekiel Bradley, Nicholas Harris, Aminu Idris
Problem Statement/overview of the need
Our goal for the client is to build a walker that both supports her upper body and be small enough for her to use; as well as, increase mobility and offer her rest when she becomes fatigued.
Design Specifications
- Has to be sturdy enough for her to put all her weight on it
- Decrease tipping by lowering the center of mass
- Provide support for her upper body
- Lightweight
- Hard to get tangled up in
- Easy user interface
Background research
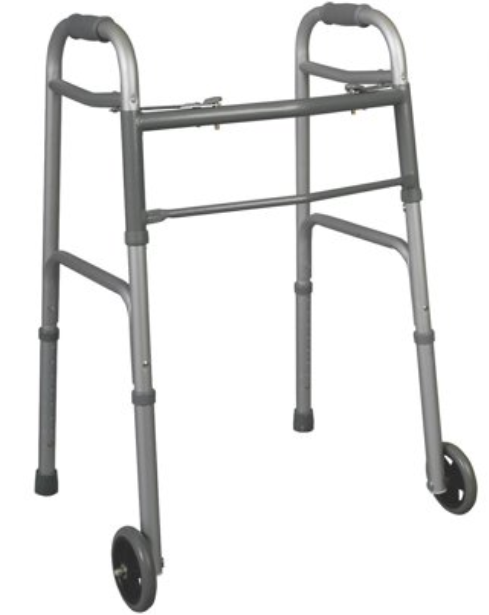
There are many types of walkers on the market, but none of them, at least that we could find, were the right size. They have a walker currently, which we loosely based our design concepts off of. That walker is the Medline Youth walker.
Conceptual Design
Going into our design process we kept certain goals and limitations in mind. The first was that we had to make sure that the design was safe. The second was that the design had to be manufacturable given our limitations.
Design Concept 1
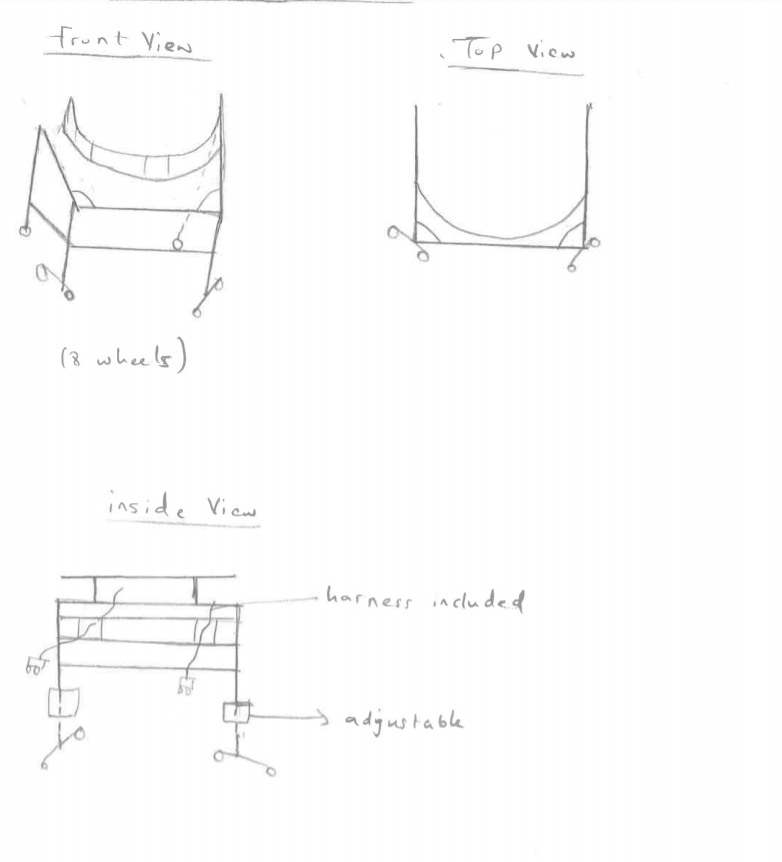
- A walker with 6 wheels
- Had over head support for a harness
Design Concept 2
- based off of the walker she currently has
- has a built-in harness support
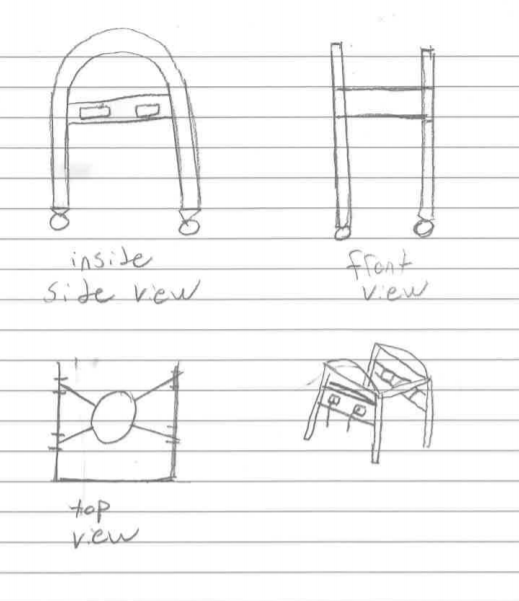
Design Concept 3
- has rounded over handle because we noticed she pushed the walker she had
- has 8 wheels
Evaluate concepts/select candidate
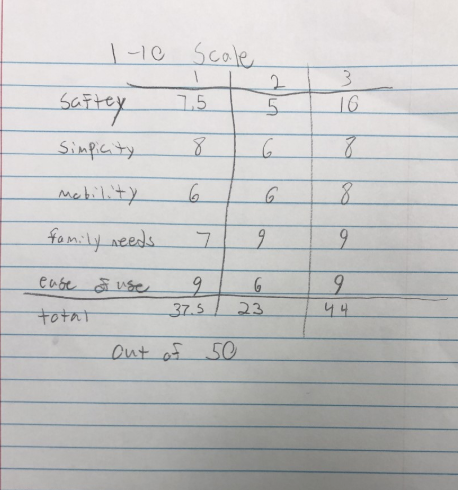 After going through the evaluation process we decided that we will add the support from the design concept one on to the rest of design concept 3.
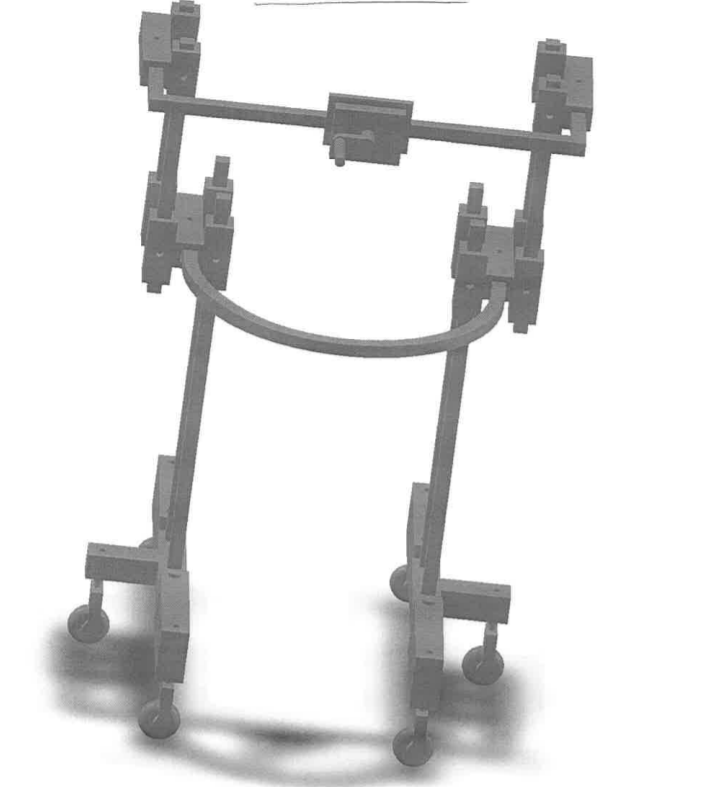
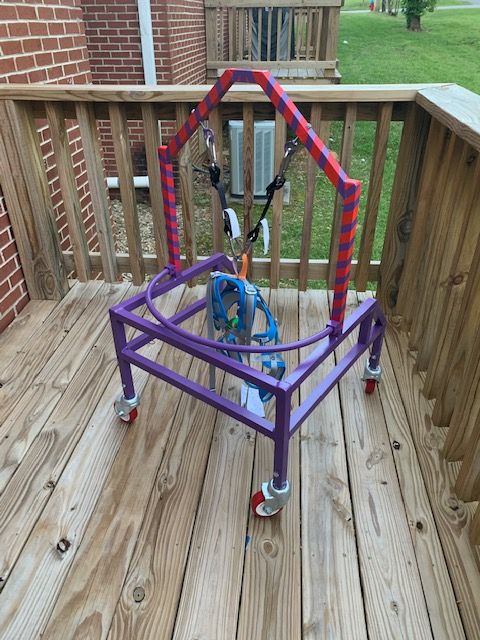
Detailed Design
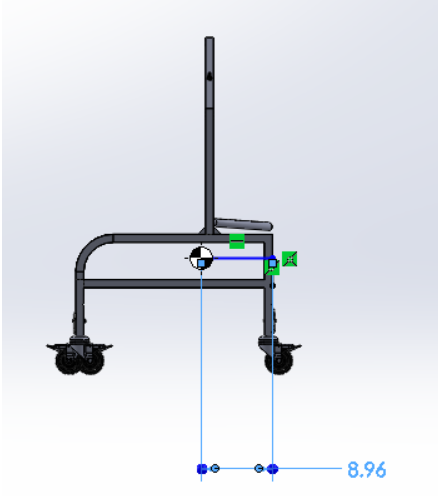
- We took a walker base
- Extended the width to lower the chance of tipping
- Lowered the height to accommodate the girl
- Designed an overhead support system to increase upper body stability
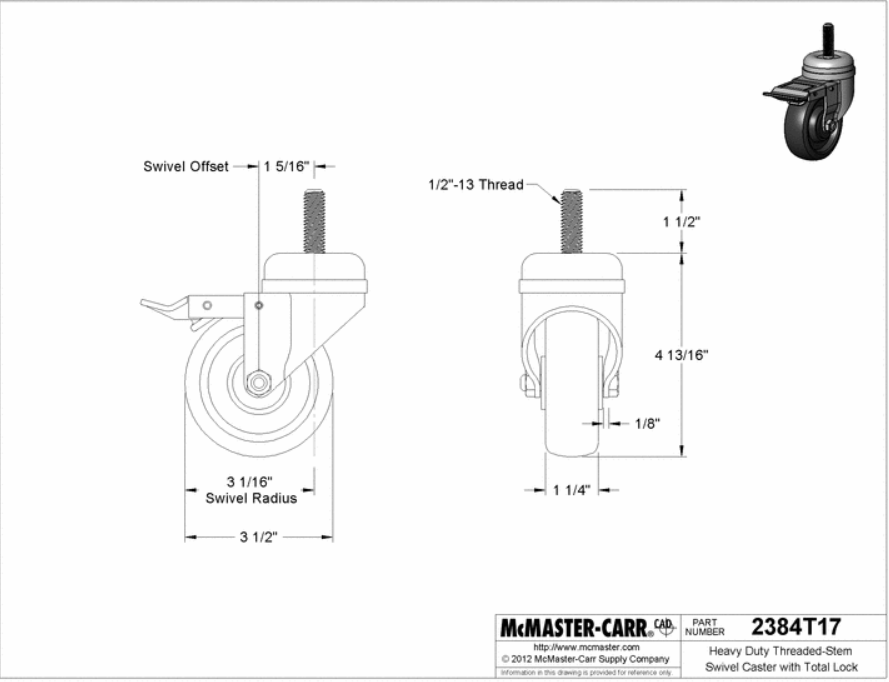
- Used heavier castors to increase the weight on bottom of the walker to lower the center of mass
- Designed adjustable legs that move up to three inches from starting position
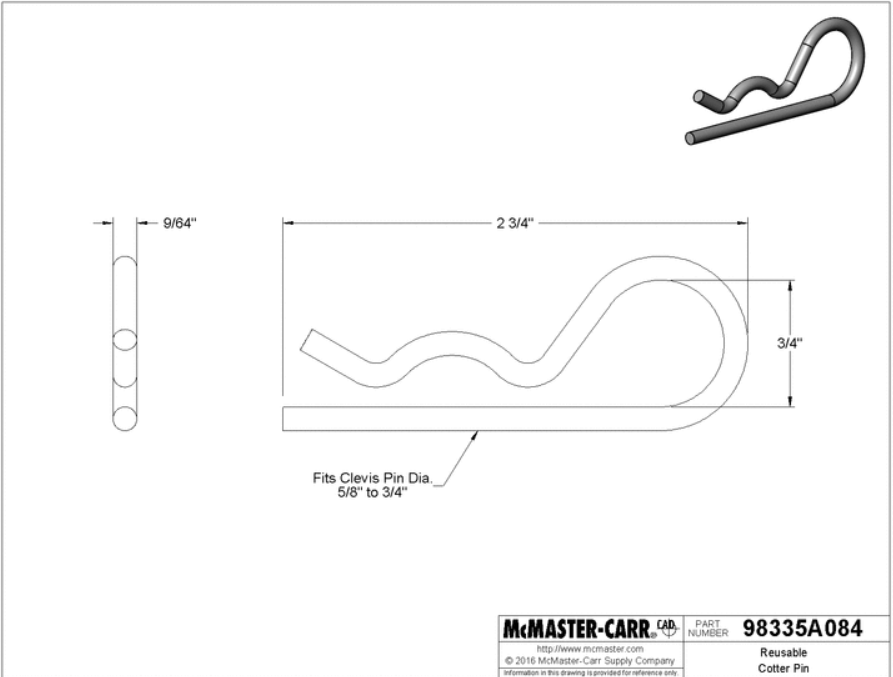
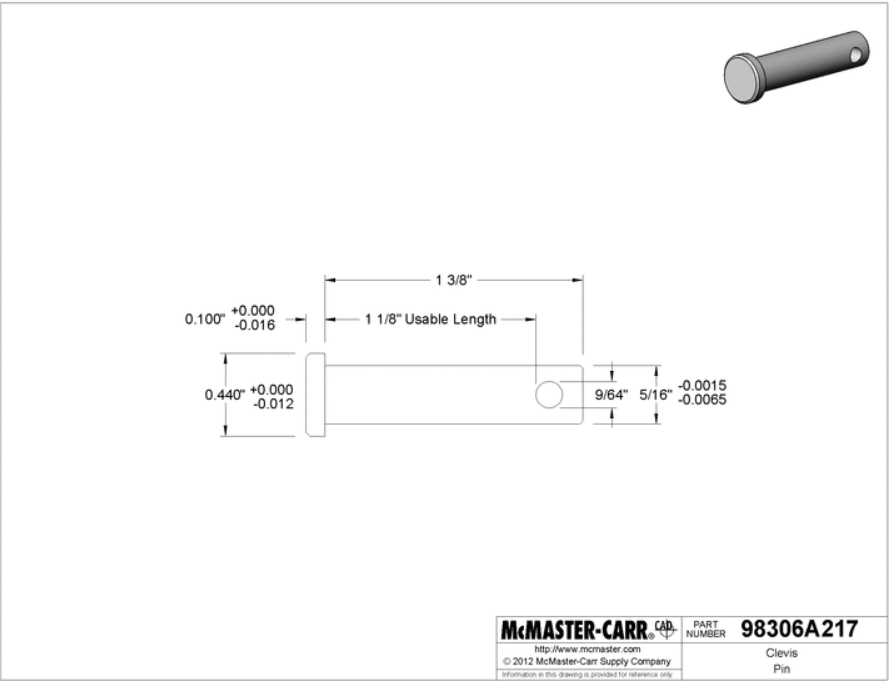
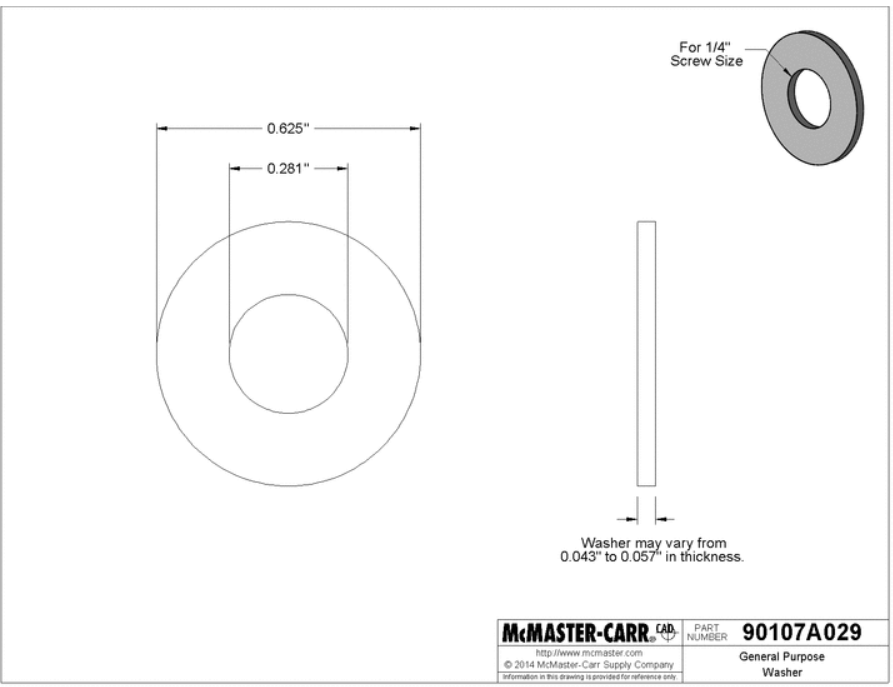
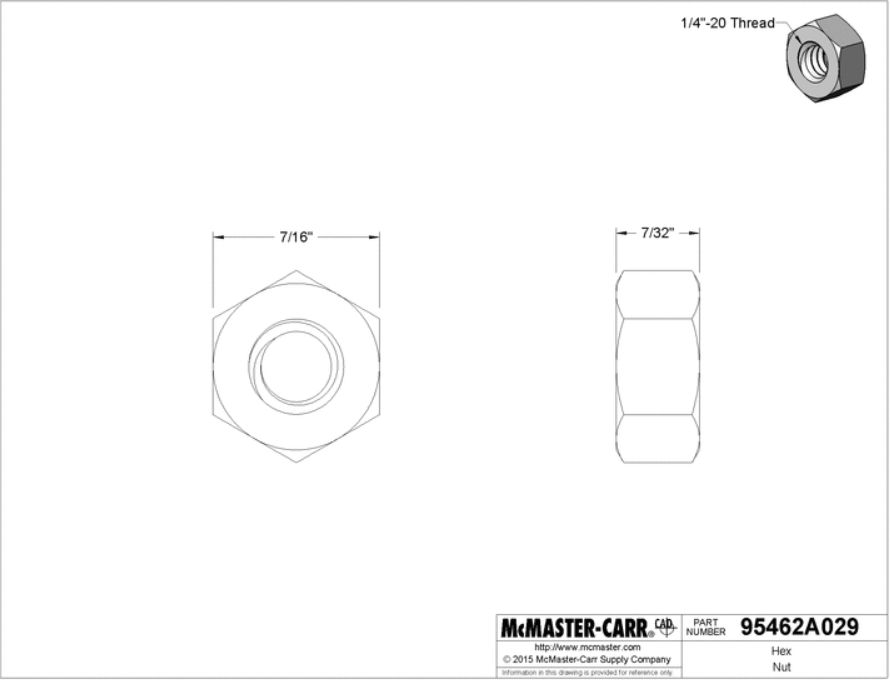
- Used clevis pins and hairpin clips to hold the legs in place properly
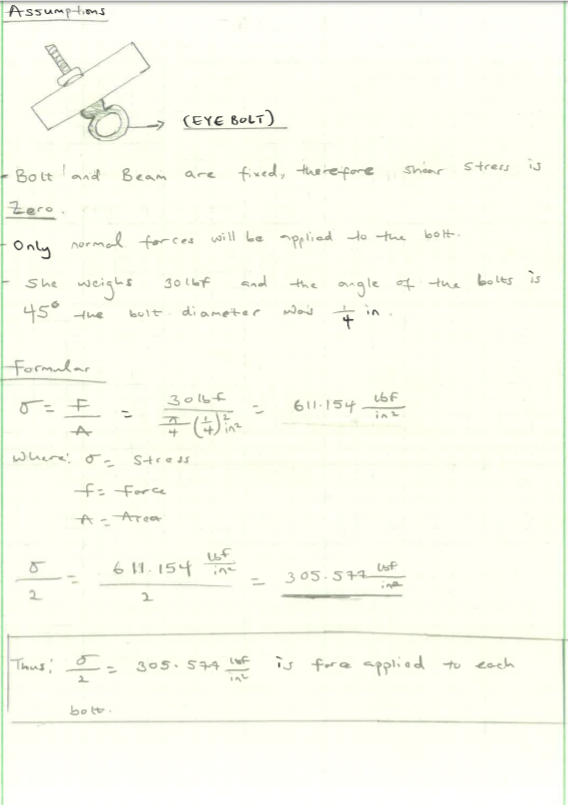
- We came up with an overhead support that utilizes 45-degree angles to reduce shear stress on the bolt as well as increase the surface area for the weld at the frame of the walker
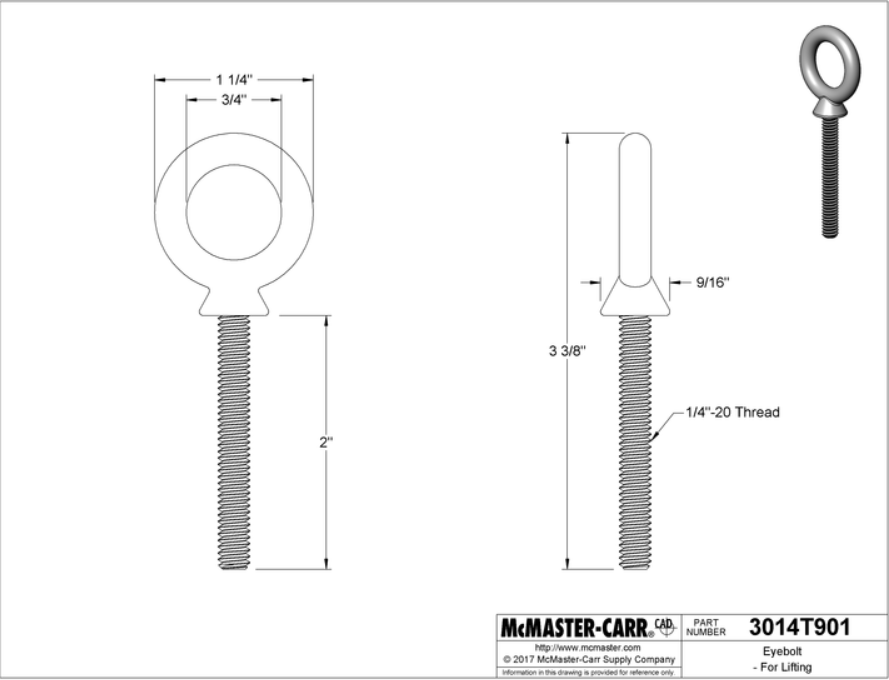
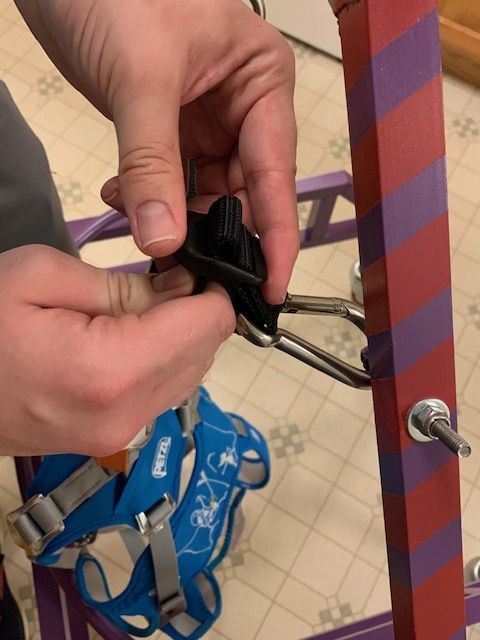
- We used heavy duty steel eyebolts to create a harness system to secure the child in place
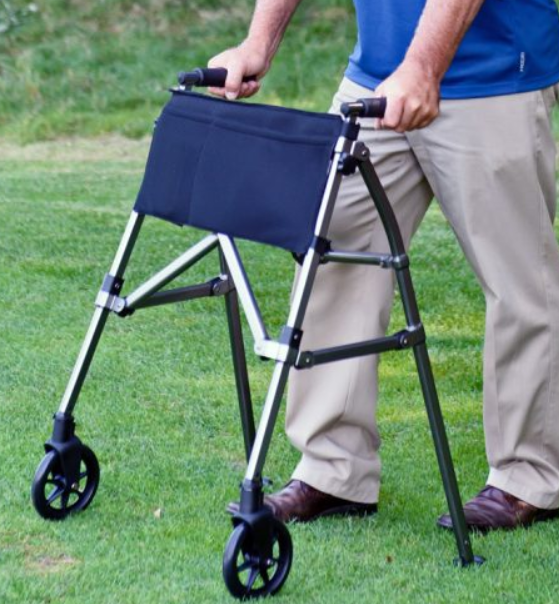
- Instead of the usual hand grips we decided to go with a singular rounded rail that will allow her to chose her hand position when walking
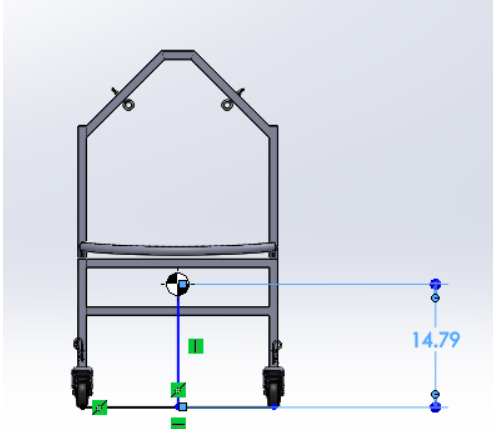
- The weight of the walker is exactly 16 pounds
- Width is 24 inches
- Height is 36 inches
Description of selected design
Detailed description of selected design
Our design is based off a normal walker. Our modifications start by, adding more width to the frame of the walker so that it is harder to tip. Next, we added an overhead support, that will allow us to add harness device to the walker to support our client’s back. Finally, we added a round handrail for our client to push to make using the walker more comfortable.
Analysis
- We used Solidworks to find the center of mass
- We did an analysis to the eye-bolts
- We did an analysis to test how much force is required to tip the walker.
Engineering analysis 1
Engineering analysis 2
Engineering analysis 3

CAD Drawings

Bill of Materials
Assembly Instructions
Fabrication Process
- Due to Covid-19, all of the welding was done done by the head of the shop, Jeff Randolph.
- Chase King, from YOROZU Automotive, cut the aluminum to size for us.
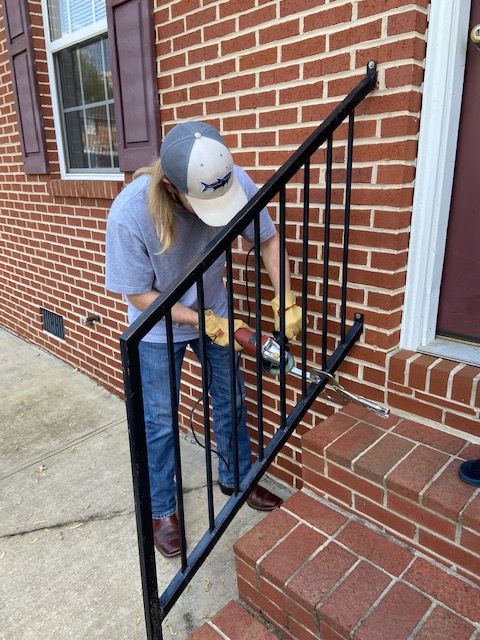
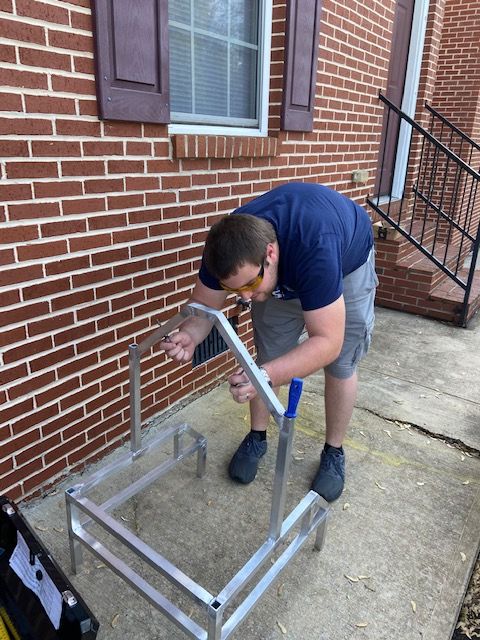
- On the left you can see Zeke polishing the rod that holds the wheels after we drilled the holes
- On the right you can see Jared checking the eye bolts, to ensure they are in the correct spot.
Testing and implementation
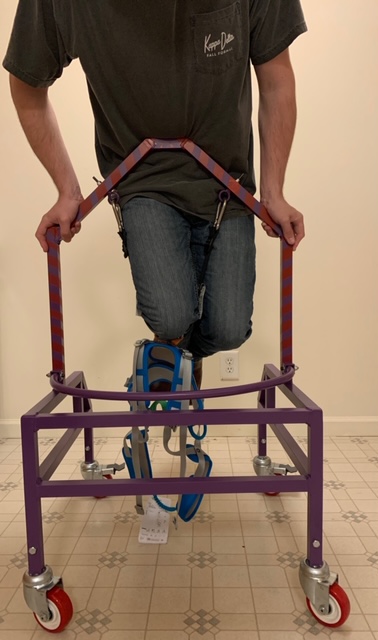
- This was us testing both the straps and the walker's ability to hold weight. The walker is able to hold Zeke no problem.
- Most of testing was putting weight on the walker in various places to see how our walker would react.
- We also tested the castors to make sure they rolled freely.
Photos of Completed design
Instructions for safe use
Provide a clear summary of safe use for the family.
Do not use the device unless supervised by an adult that has been fully understood the safe use of this product.
- We made the straps very tight as to not allow any slip whilst holding weight. In order to adjust the straps, you must take the weight off the plastic piece and then push the strap through the hole to adjust it.
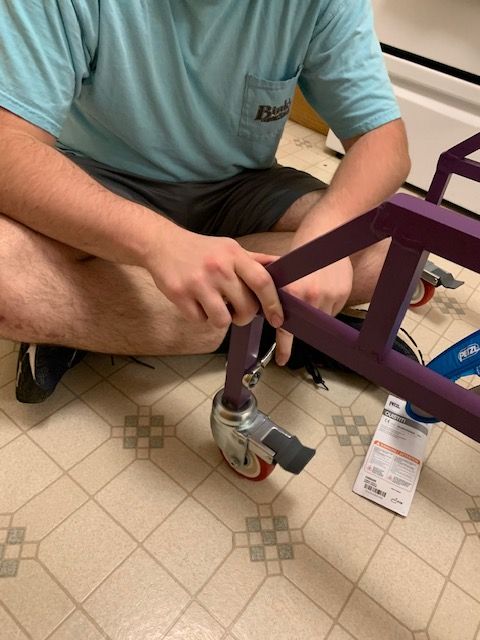
- To adjust the height of the walker, you must first undo the nut holding the bolt to the walker frame. Next, simply pull the castors down until you reach the desired hole. Finally, you place the bolt back into the walker and tighten the nut back on. We recommend making finger tight and then at least a half turn extra with a wrench.
- To ensure the safety of the user, you should check the nuts periodically.
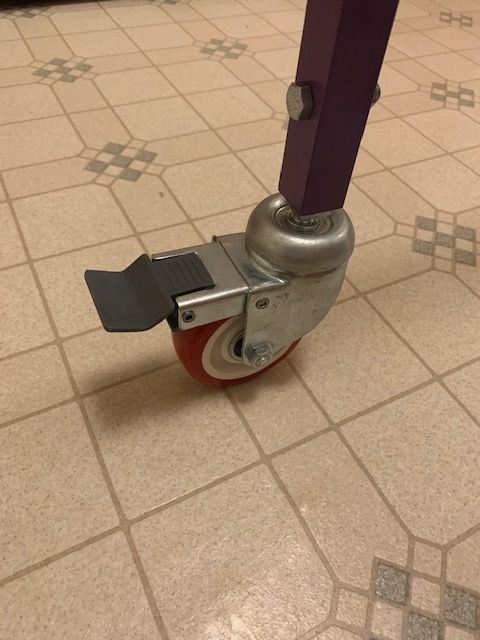
- The back castors have the ability to lock by simply pressing on the grey plastic piece.
- We recommend when placing someone inside the harness you lock the back castors in order to keep the walker from rolling around.
Project Summary, Reflection
- Group 11
- Jared Oliver, Ezekiel Bradley, Nicholas Harris, Aminu Idris